
Description
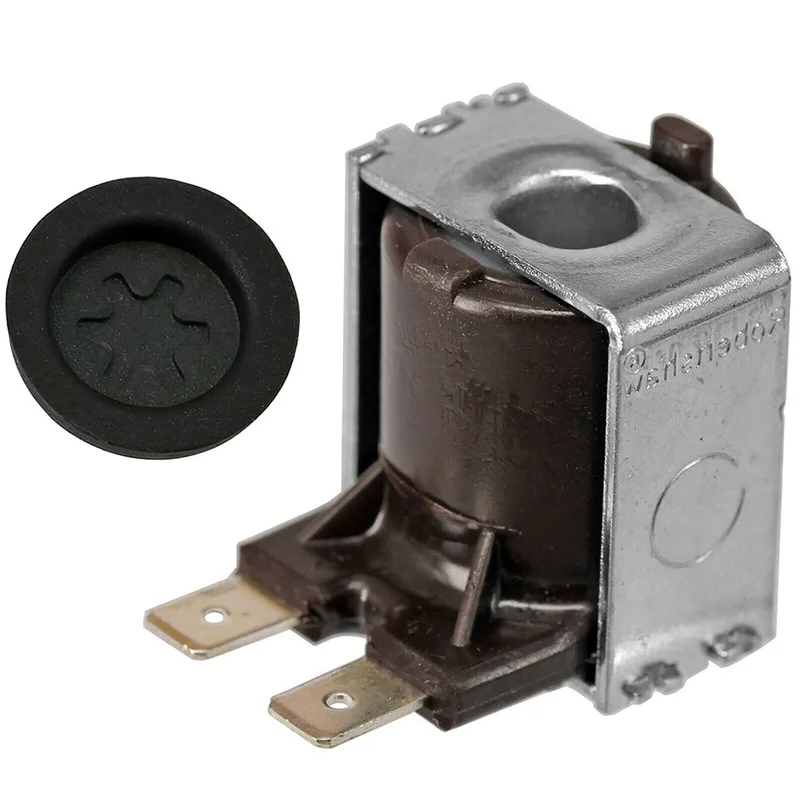
Compatible with Triton shower models that require a brown solenoid coil as pictured, including (but not limited to): Amber III, Aquatronic 1 plus electric, Aquatronic 2 electric, Aquatronic 2 plus electric, Aquatronic 3 electric, Aquatronic 3 plus, Aquatronic 4 electric, Aquatronic 4 Plus, Aspirante Electric, Aspirante Electronic, Aspirante Millennium, Aspirante Remote Electric, Aspirante Topaz, Aspirante XR electric, Barbados, Belize, Bermuda, Bewitch, Biarritz, Cara, Caselona II / Caselona 2
Caselona, Colourwave electric, Colour wave Remote, Desire, Easfit, Enrich, Hawaii, Ivory II, Ivory III, Ivory, Jade II, Jade, Marbella, Martinique, Millennium Care, Millennium Thermostatic, Monaco, Opal II, Opal, Passion, Rapide 2, Rapide 3 plus, Rapide 3, Rapide 4 plus, Rapide 4, Rapide R1, Rapide R2, Rapide R3, Seville, Spellbind, Spirit, T100e Care Plus electric, T100e Care, T100e Thermostatic Care electric, T100e/T100e Care, T100em Care electric, T100si electric, T100xr electric, T200re
T300si Remote, T70si, T70xr, T80, T80i, T80si Pumped, T80si, T80xr Eco, T80XR, T80z (Nov 2008), T900PI, T90si Pumped, T90xr Pumped, Topaz T100i, Topaz T100si, Topaz T80i, Topaz T80si, Trance, TX8500I, W8500, W8500s, Wickes Aquatronic 3, Wickes Aquatronic, Wickes W8500, Wickes W8500s, Wickes W9500i, Wickes W9500s, Zante II
Kit Contains: 1 x Solenoid Coil — 1 x PRD Burst Disc Seal
How to Install: To install the solenoid coil, first remove the 2 connectors from the old solenoid coil, typically situated at the base of the shower unit. Ease it forward using a flathead screwdriver until the coil is free. Push the new solenoid coil into place & attach the 2 connectors to the terminals
Reviews
There are no reviews yet.